Wax dipping is a method of applying a layer of melted wax to an item. Commonly this is used in bottle packaging, adding an extra element of personalisation and professionalism to the bottle. At its core, wax dipping is a relatively simple process which can go a long way in helping your products stand out from the crowd.
On top of this, wax dipping is also a fantastic way to add an element of theatre to the bottle opening itself; removing the wax seal requires special attention, and ensures that the exterior of the bottle is equally matched to its contents. This also leads to additional benefits in providing tamper-proof sealing – well suited to food and drink items.
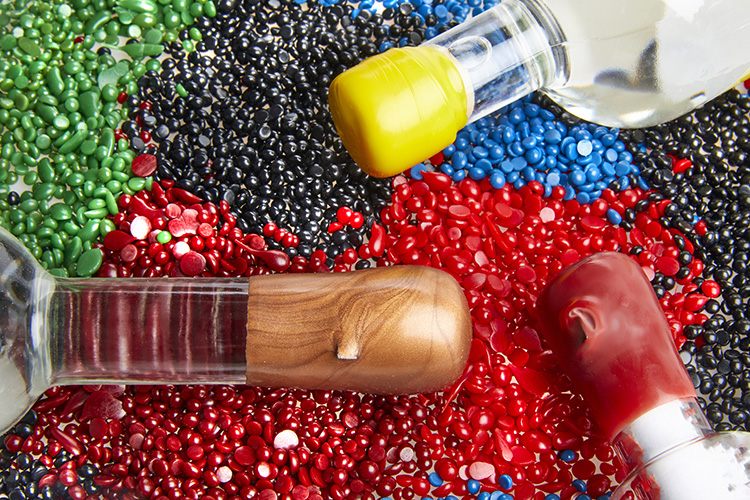
Bottle sealing wax for wax dipping commonly comes in one of two forms – pellets or blocks. There are a number of benefits for using wax pellets, including making it much easier to manage the overall wax temperature.
If you add blocks of wax to the melting pot, this will lower the overall temperature of the pot significantly, which will mean that more time is required to bring the temperature back to the correct level. Using wax pellets alleviates this issue; because you can add small amounts of pellets at a time, this means that there is much less impact to the overall temperature. Additional advantages to using wax pellets are that they melt quicker, and also are less likely to have lumps in the middle.
Signet are proud to be launching a new wax service, which features both pellets and blocks. We are keen to promote the use of wax pellets as an effective way of achieving quicker melting, and an easier addition to production processes. As a lot of wax items are hand dipped, it is a great option for start up brands; however, we are working on automatic application for growing brands or as an option for already established brands who want to create an authentic, hand finished look. Find out more about our premium bottle sealing wax service.
Ribbon tear strips are a great way of enhancing the effects of wax dipping even further. Simply applying a ribbon tear strip around the neck of the bottle, just below the stopper, before dipping in the wax will leave a small piece of the ribbon visible, which provides an incredibly satisfying, easy way to break the wax seal.
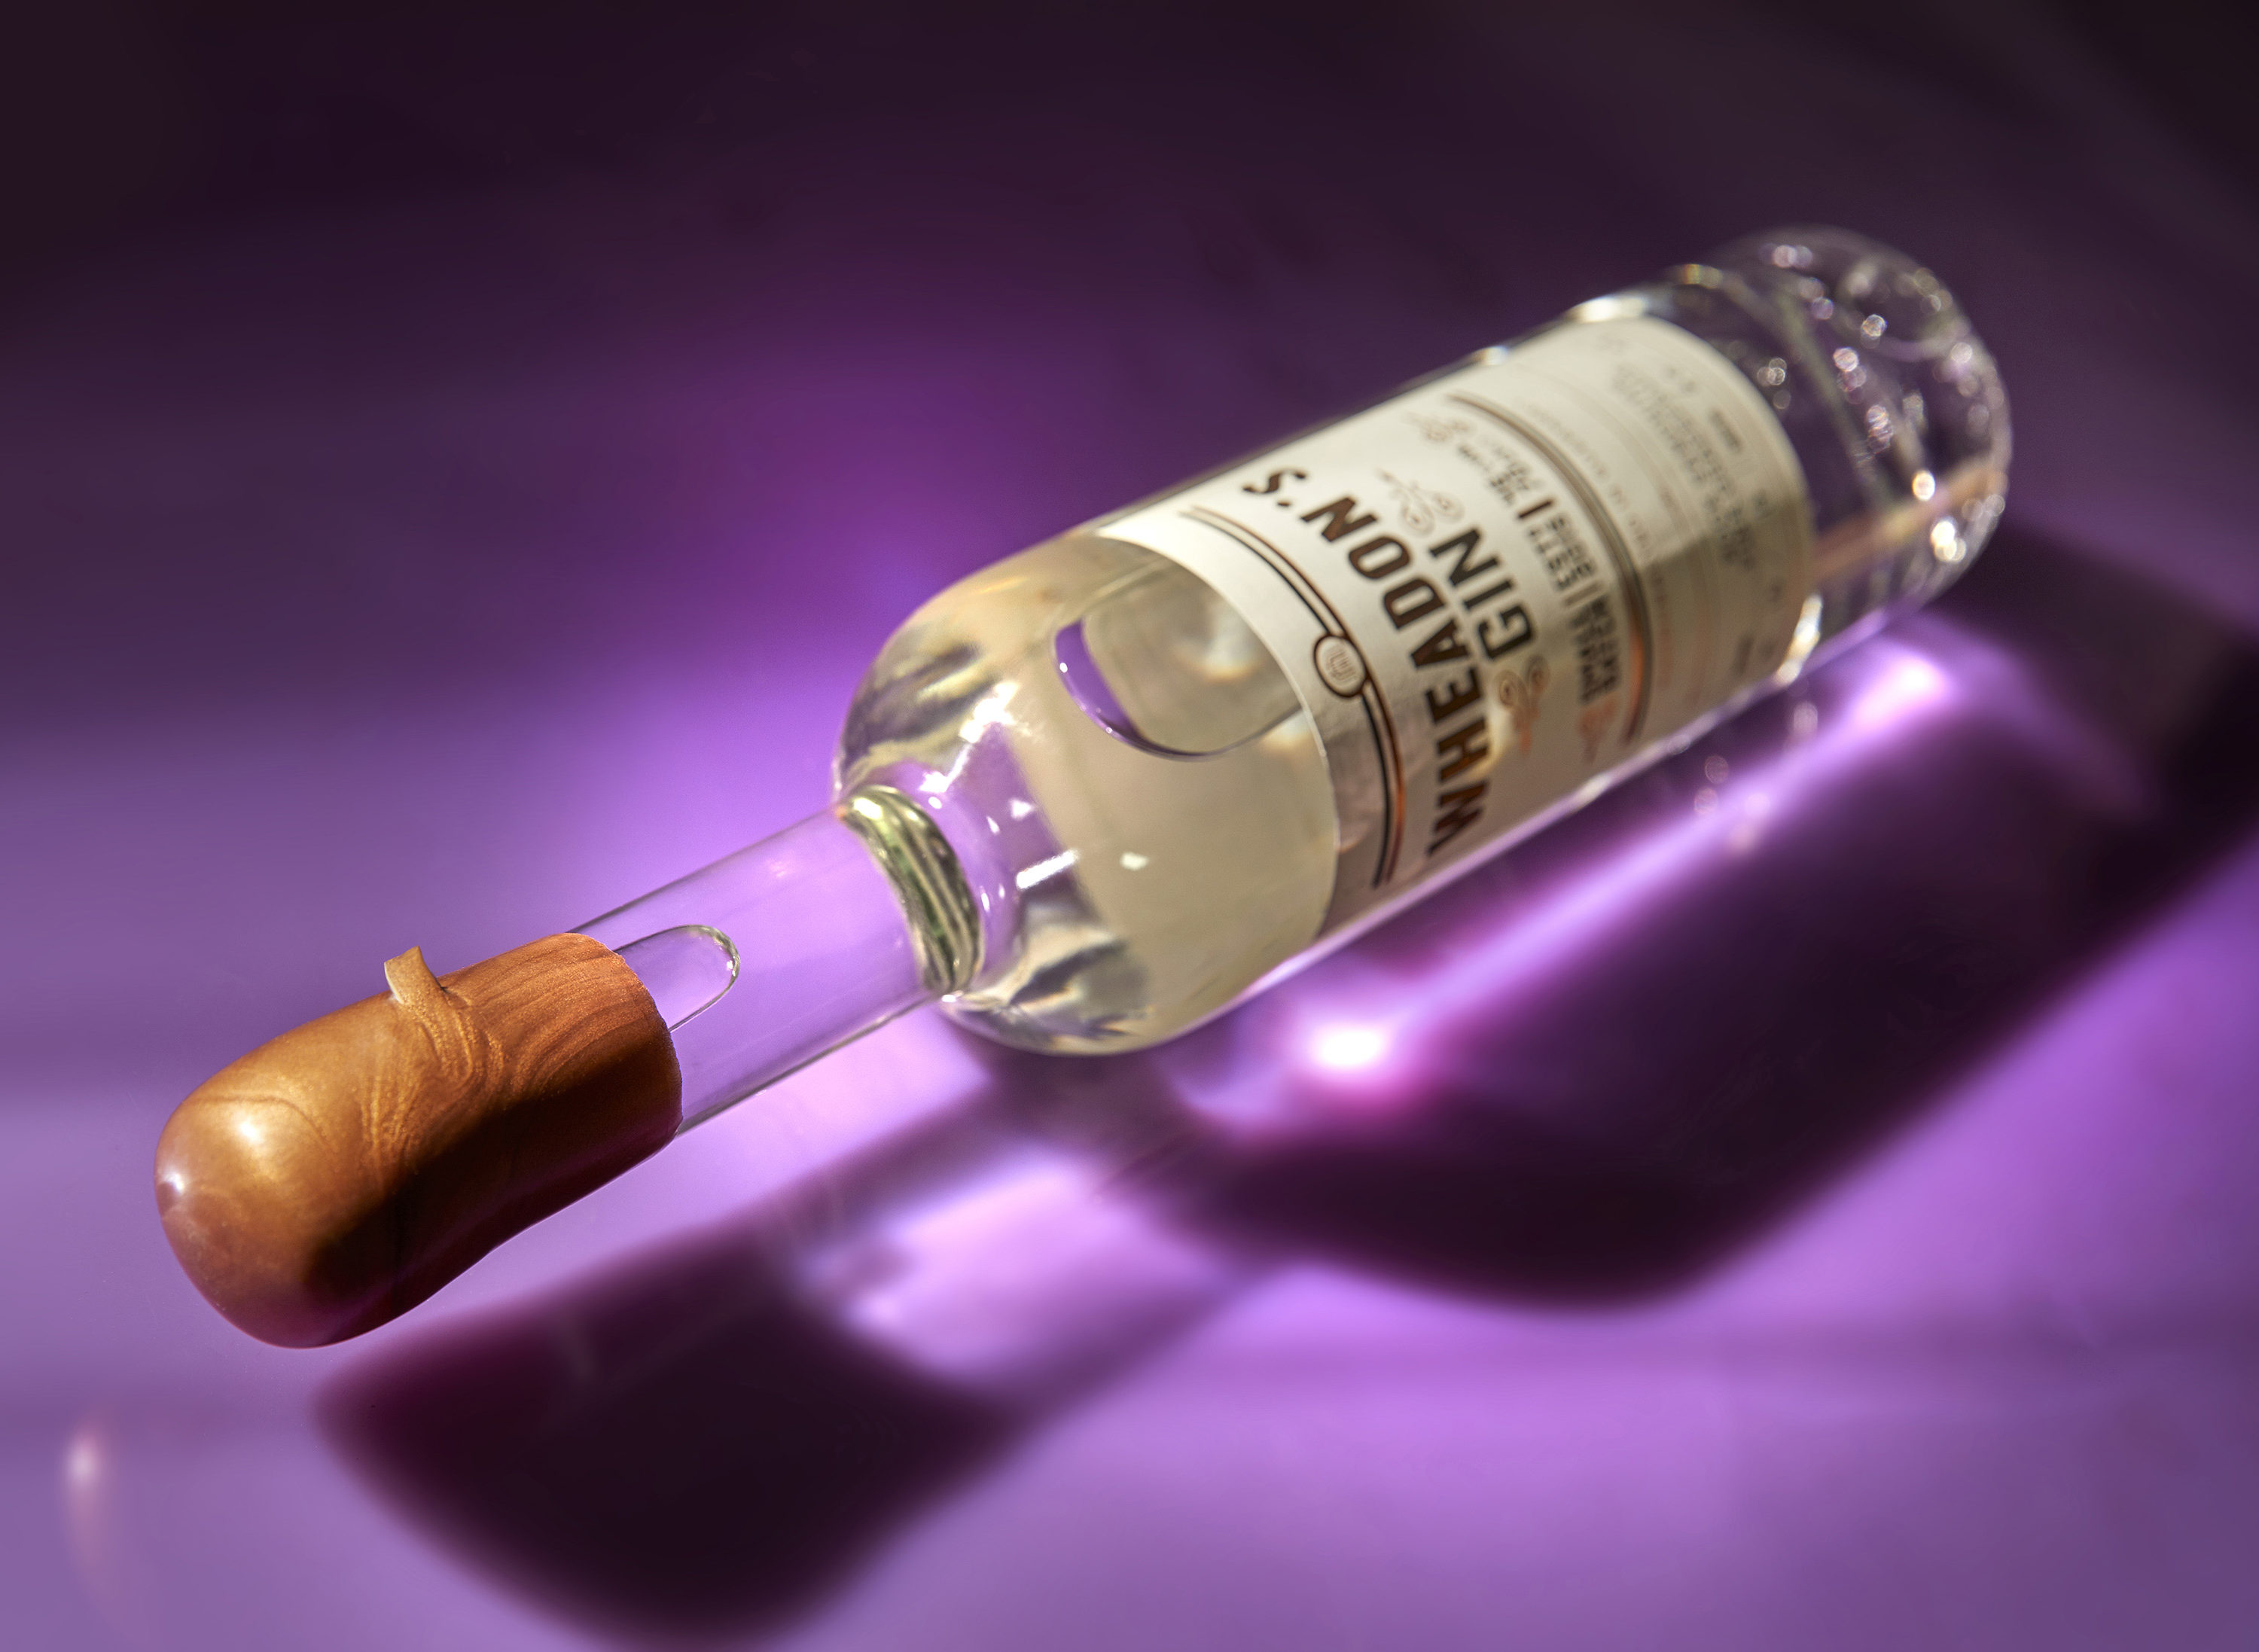
Not only can wax dipping add to the appearance of your bottles or products, creating an air of distinction and decorative flair, it is also simple to achieve when you have the right equipment.
Here, we breakdown the process of wax dipping.
• A banemarie or wax hot pot
• Wax pellets
• Item or items to be decorated
• Cold water (if required)
The process of wax dipping has been around for many years. It is a straightforward process that can be completed with just a little preparation.
Step One – Setting up
There are two main methods for wax dipping. The first is through the use of a wax hot pot or melting pot. This is electrically heated, and then when the optimum temperature is reached, the wax pellets will be placed carefully and slowly in the pot until they melt.
The second most common method of wax heating is through the use of a banemarie. This is a more traditional method, which uses a metal pot above boiling water, rather than electricity, to melt the wax.
Step Two – Find the correct temperature
Finding the optimum temperature can require some adjustments once the wax is melting. Add the wax slowly and observe the conditions of the wax to judge the temperature levels.
If it is too hot, then the wax will become thin and see through when applied to the bottle. There will also be a large amount of drippage. If the temperature is too cold then you will notice a skin over the top, and it will be more difficult to apply the bottle to the mixture.
It is also important to consider that when adding the items to the melted wax, these will likely lower the overall wax temperature. This is especially important when adding bottles or items that may have been kept cooled, as you may have to wait a short time whilst the wax heats up again after each item.
Step Three – Coat item
Once the temperature is correct, simply dip the bottle or product in the wax, turning slowly to give an even coat. Remove the item from the wax and hold it at an approximate 45° whilst any residue wax drips off. Break off the hardened end of the dripping wax if needed, and leave to harden.
Additional Step – Adding a glossy sheen
If you would like to give the wax a more glossy sheen, dip the wax into cold water immediately after removing from the pot. This is a good option for those who want a smoother finish to their wax decoration, but it is not essential.
We’d love to find out more about your product or brand and we’d be delighted to arrange a consultation to discuss your product embellishment needs – simply fill in the form and we’ll be in touch.
Alternatively, give us a call on 01733 396080

